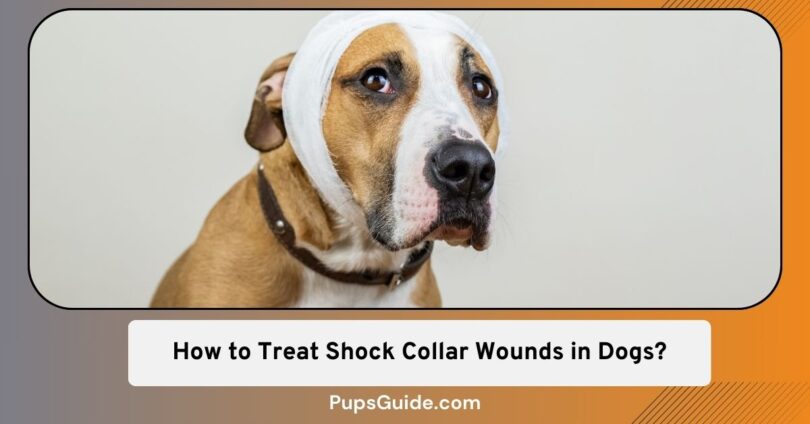
Shock collar wounds are a result of improper use. You may have thought about using common household items like hydrogen peroxide, salt water, or vinegar for wound cleaning. But don’t worry, here’s how to treat them and avoid them from recurring again.
Treating Shock Collar Wounds – 10 Considerations
Tending to any wound requires care on your part. Read the steps below that I use, but remember that this guide is only to give you a basic understanding. Whether you should treat a wound yourself or not depends on its severity.
In the end, it’s always wise to consult a professional if you don’t know what to do.
1. Assess the Wound’s Severity
Before diving into home treatments, it’s crucial to assess the wound’s severity. Deep, large, bleeding, or painful wounds require veterinary attention.
2. The Golden Rule: Dilution is the Solution to Pollution
For minor wounds that don’t need professional intervention, remember the golden rule – the solution to pollution is dilution. Rinse the wound thoroughly with drinkable tap water. Studies show it’s as effective as saline for cleaning.
3. Soap It Up for Dirty Wounds
For those extra dirty wounds, introducing a mild soap during the rinsing process can help eliminate initial contamination. Think of it as giving the wound a good, old-fashioned bath.
4. The Nitty-Gritty on Antiseptic Agents
When dealing with superficial infections or highly contaminated wounds, adding an antiseptic agent after the initial cleaning is key. Opt for chlorhexidine or povidone-iodine, both effective and gentle when appropriately diluted.
5. Say No to Hydrogen Peroxide
Despite its antibacterial properties, skip the hydrogen peroxide. It may kill bacteria, but it also slows down the healing process and can be harsh on healthy tissue. Choose gentler options like chlorhexidine or povidone iodine.
6. Concentration Matters
Pay attention to the concentration of antiseptic agents. Aim for lower concentrations (0.2% to 0.5%) to ensure effectiveness without harming healthy tissue. Always check the product label for concentration information.
7. Duration of Use
Use antiseptic agents for a few days only. If the wound persists, appears inflamed, or discharges continue, consult your vet. Prolonged use may indicate a deeper infection requiring additional treatment.
8. Explore Alternative Options
Consider alternative wound-healing options like silver sulfadiazine or manuka honey. These additions can prevent infections and aid the healing process, especially for open wounds exposed to environmental bacteria.
9. Antibiotic Cream: A Last Resort
Resist the temptation to reach for antibiotic creams. Misuse contributes to antibiotic resistance, a global issue. Save these powerful medications for situations where they are truly necessary and prescribed by a vet.
10. Superbug Alert
Remember, every small action counts in the battle against antibiotic resistance. By opting for alternative treatments and avoiding unnecessary antibiotic use, you’re playing a crucial role in preventing the development of superbugs.
How To Avoid Shock Collar Wounds?
While some swear by their effectiveness in training, others cringe at the thought of their furry friend feeling a jolt. But no matter where you stand on the shock collar spectrum, one thing’s for sure – preventing shock collar wounds is a goal every responsible pet parent can get behind.
Step 1: Fit Like a Glove – Collar Sizing
A collar should fit snugly but comfortably. Avoid the scenario where it is not too tight to strangle, and not too loose to slide around. Slide in two fingers between the collar and your pet’s neck to ensure the perfect fit. Think of it as tailoring a bespoke suit for your four-legged fashionista.
Step 2: Material Matters – Choosing Collar Fabrics Wisely
Opt for collars made from breathable and non-abrasive materials. Say no to the rough stuff – avoid materials that could chafe or irritate your pet’s delicate fur and skin. Comfort is the name of the game.
Step 3: Breakaway Brilliance – Safety in Quick Release
Ever seen a magician act? A collar with a quick-release buckle adds a layer of safety for the escape artists. It ensures your pet can get their way out of trouble if the collar gets snagged.
Step 4: No Tug-of-War – Gentle Leash Etiquette
Leash manners matter more than you think. When your pup pulls a tug-of-war move, the collar takes the brunt. Teach your furry friend the art of loose-leash walking. It’s like a dance – smooth, coordinated, and far less likely to end in a collar-induced hiccup.
Step 5: Regular Checkups – Collar Inspection 101
Just like a car needs a tune-up, your pet’s collar needs regular inspections. Check for wear and tear, loose parts, or any signs of discomfort. Keep it fresh, keep it flawless.
Step 6: Time for a Change
Puppies grow faster than weeds in a spring rain. As your pup blossoms, upgrade its collar accordingly. Ill-fitting collars can lead to irritation, discomfort, and a fashion faux pas. Embrace the growth spurt – it’s a sign your pet is thriving.
Step 7: Rotation is Key
Even the most stylish outfits lose their charm after a while. Apply the same rule to your pet’s collar collection. Rotate through different collars to avoid chafing and ensure they stay as excited about their accessories as a fashion-forward diva.
Step 8: Homemade Collar Tips
Ever tried a homemade recipe that rivaled a five-star dish? Apply the same logic to your pet’s collars. For added comfort, consider padding the inside of the collar with soft fabric. It’s the DIY touch that turns an everyday collar into a customized comfort experience.
Step 9: Collar-Free Zones – Let Them Breathe
Even the most fabulous accessories need a break. Designate collar-free zones during rest times. It’s like slipping off your heels after a night out – a relief for your pet’s neck and a chance for them to fully unwind.
Step 10: Opt for Positive Reinforcement
Training isn’t just for humans – it’s a pet’s playground too. Opt for positive reinforcement methods instead of shock collars. Treats, praise, and belly rubs work wonders, and they won’t leave your furry friend with anything more than a wagging tail.
Step 11: The Power of ID Tags – Safety in Identification
ID tags are the unsung heroes of pet safety. In the event of an escape, they’re the golden ticket home. It’s like having a superhero’s cape – a small accessory that holds tremendous power.
Step 12: Professional Wisdom – Consult Your Vet
When in doubt, consult the pet professionals – your vet. They’re the gurus of all things furry and can provide tailored advice based on your pet’s specific needs.
How To Treat Shock Collar Wounds? Conclusion
As we wrap up this journey through shock collar safety, remember – your pet’s well-being takes center stage. By taking these simple steps, you’re not just preventing collar wounds – you’re curating a shock-free haven where joyous tails wag without worry.
So, suit up, stay in the know, and let your pet’s safety be your first priority. Because when it comes to pet care, every dog deserves a red carpet-worthy safety experience!


Leave a Comment